
Because of the underlining, I wanted my fabric to lay flat rather than folded selvage to selvage. So, for my center panel, which is cut on the fold, I made a new pattern piece so the panel could be cut in it's entirety. I mentioned in my earlier post that I added an inch to this center panel because I felt I needed it through the bust and waist. Once the dress was finished, I thought the neckline seemed not quite snug enough so beginning about 5 inches down from the neckline, I gradually took that inch out in each of the princess seams. Since the binding was already on, I removed the binding to shorten it and reattached it. The other adjustment I made was to pull the shoulder seam up about 1/2 inch to make the little cap sleeve snug up a bit rather than sticking out at an angle.


When I underline, I do a lot of basting of the two fabrics. I baste each piece first in the center, followed by diagonal basting on each side, and lastly more basting in an outline around the whole piece. It's time consuming, but worth the effort not to have any fabric shift as you're putting the pieces together. And, as long as you're not in a great hurry, it's kind of soothing. I just know that when I go down to my sewing room, I'm going to do a certain number of pieces, and that's all.

Also, because of the underlining, I decided that I would do a lapped zipper with the underside put in by machine and the lapped side hand pricked. I think this is a really nice finish and one that gives you a lot of control. When I do the hand pricked side, I place tiger tape along the fold to make certain that my pricked stitches are perfectly aligned away from the fold. The following pictures are pretty blurry, but you get the idea.


The pattern calls for store bought single fold tape for the sleeves and the neckline, but I find that making your own bias tape is easier, prettier, and softer, in addition to more economical. And, I don't like top stitching on a dressier dress so I hand stitched it down.

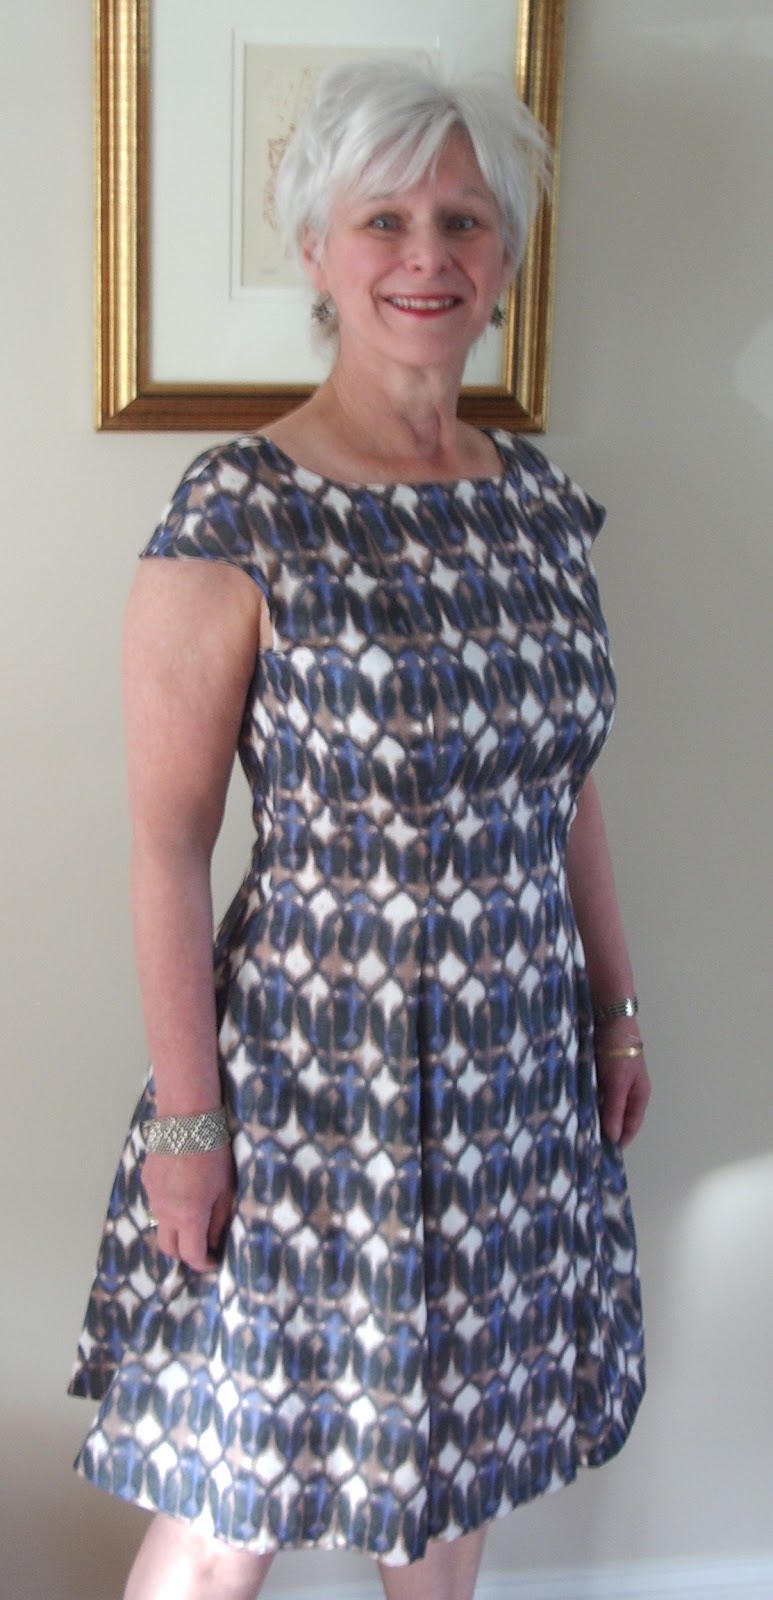
Voila!


Slan